I am submitting this instructable to the Arduino controlled window challenge. Please remember to vote!
My neighbor had a little problem with his cat. It want’s to go out and back inside too frequently. Usually he opens just his kitchen window and let’s the cat in/out. Usually the cat stays only short periods outside and want’s soon to come back inside. And then again out and back in. Okay, he could just let the window open, but here in Finland it can be easily -30 C (-22 F) in winter, so this is not a good solution.
We decided to build a microcontroller to the window to open and close the window automatically. Arduino controls a strong servo motor, which moves the window. It has three proximity sensors to sense where the is cat is.

Step 1: Parts List
Main parts:
1 pc suitable power adaptor to juice the Arduino (input voltage 7-12V dc)
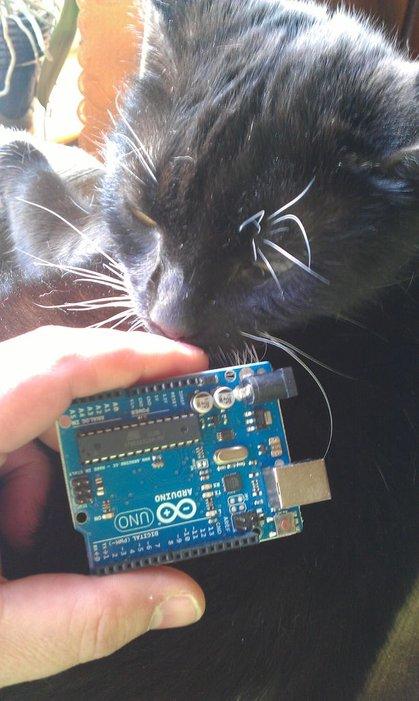
1 pc Arduino microcontroller (or equivalent *duino)
1 pc strong servo motor to move the window. I used Towerpro MG995 Metal Servo with Gears (10kg Torque).
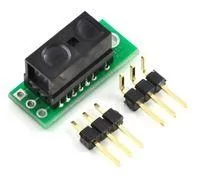
3 pc Pololu 1134 carrier board with Sharp GP2Y0D810Z0F Digital distance sensor 10 cm
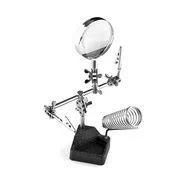
1 pc “Third hand” to hold the sensors
1 pc cat (operator)
Misc. parts:
some wire
suitable casing
small window hinge
some metal parts to fix the servo to the window frame, screws, etc
Tools etc:
Solder & soldering iron
Computer & usb cable to program the Arduino
Step 2: Mechanics

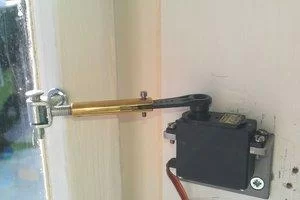
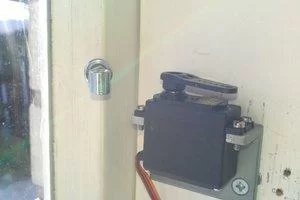
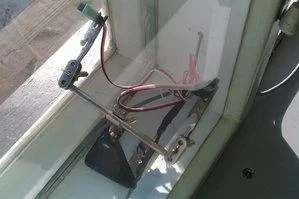
We made a holder for servo and attached it to frame. Then we fixed a small window hinge to the window itself.
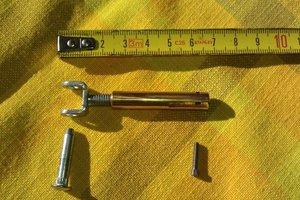
We made adjustable arm from copper rod. Don’t fix the servo arm with screw until you have first driven the servo to zero (closed) position with the control program. The good thing in this is that the mechanics are easily adjustable.
We chose Towerpro servo with metal gears to get long life for the installation. It does move the window easily enough but it can not slice the cat (nor anything else). The closing speed is set to very slow.
There are dfx files of the servo bracket and actuator arm included.
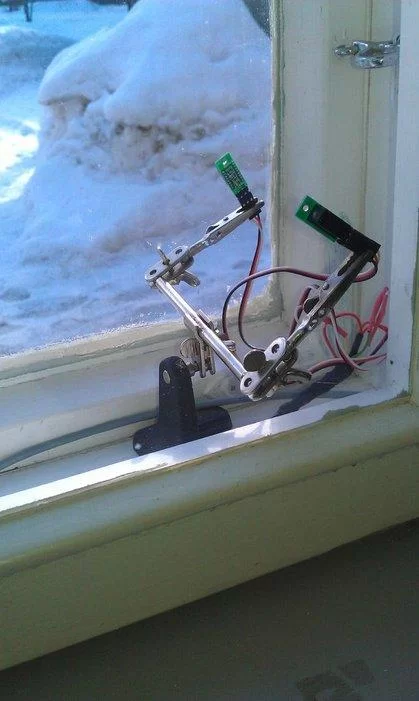
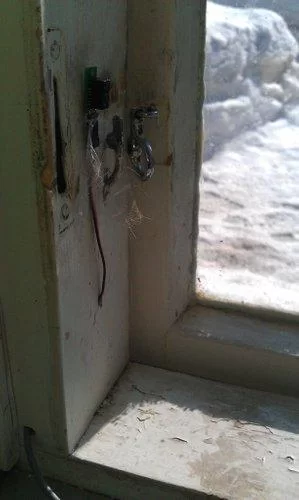
We placed three sensors, two between the windows (works well through the glass) and one at the opening window, so the window doesn’t close if the cat just looks outside. The good thing that in these Pololu boards are tiny SMD-leds. You see directly when the sensor is detecting an object.
Step 4: Control Center
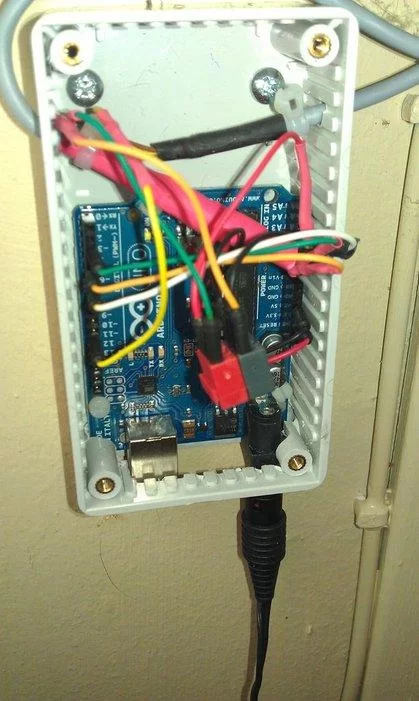
The box with Arduino is located conveniently below the windowsill. There is no power switch. You just connect or disconnect the power connector.
Step 5: The Program
Here is the program. It is written on 1.0 Arduino software, so you need at least it (or newer).
The program is pretty well documented. We added delays for detection, because the window opened itself occasionally.
The program defaults that the window is closed at the beginning. If not, it closes it first. Please check that the servo movements are okay before fixing the servo arm!
Step 6: Connections
Arduino board powers up all the sensors and the servo motor with +5v and GND.
Sensors are connected to following Arduino pins:
Pin 2 – Inside looking sensor
Pin 4 – Sensor located in the window opening
Pin 6 – Sensor looking outside
Pin 10 – Servo motors control wire
Pin 13 – Led that is on when the window is on move.
We have thought also to include temperature sensors both inside and outside. This would be a convenient way to get intelligent ventilation in summer… …possibilities are limitless!
Step 7: Happy User
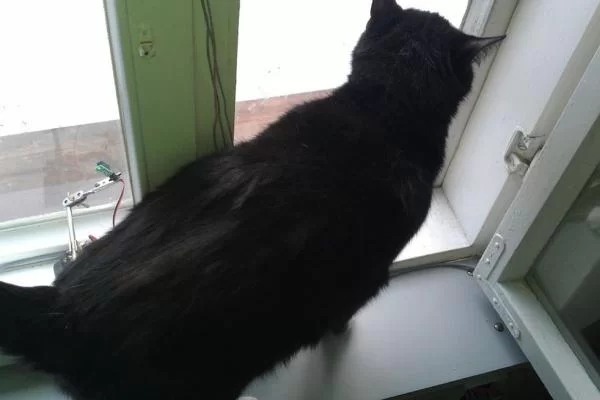
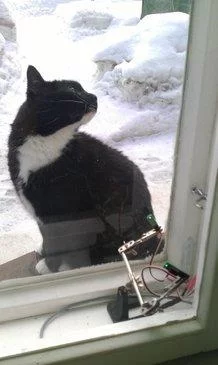
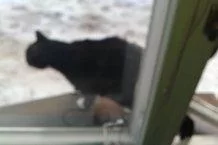
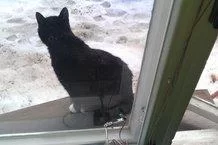 The cat has to get used to the automatic window. It is a process of learning also for the cat. It went twice BEHIND the window when the window started to open. It was very confused when the window swiped it off the sill and into the snow!
Source: Arduino Controlled Window for Cat
About The Author
Hassan Zaka
I am an expert in accounting and possess diverse experience in technical writing. I have written for various industries on topics such as finance, business, and technology. My writing style is clear and simple, and I utilize infographics and diagrams to make my writing more engaging. I can be a valuable asset to any organization in need of technical writing services.
Follow Us:LinkedinTwitter