In this Instructable, we’ll learn how to make an Aeroponics system that’s controlled via the Raspberry Pi, and uses the Raspberry Pi Camera module to take photos of your plants. Aeroponics is a pretty unconventional method of gardening, but that’s what makes it fun! 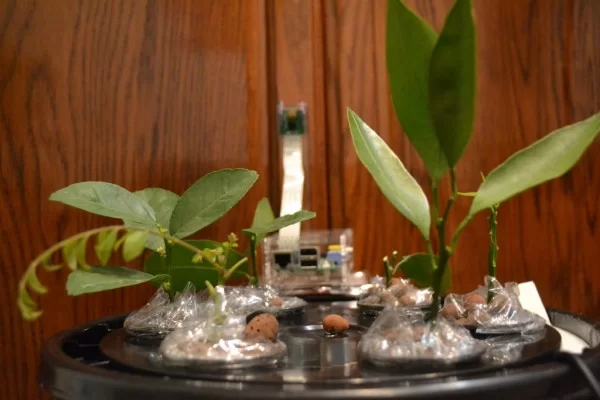
Aeroponics makes use of mist in a closed environment to provide a plant with the necessary elements to survive. Usually, a plant’s roots are suspended in a mist container, while the rest of the plant sits above the setup. As an indoor setup, aeroponics is compatible with pretty much anything you want to plant and can be used year round! Some other benefits include: a cleaner environment which reduces the need for chemicals and pesticides, conservation of water and space, and consistent yields.

Aeroponics can be used to germinate seeds or develop cuttings all the way to full size. For this Instructable, I’ll be using orange, curry, and lemon cuttings.
Fun Fact: NASA has a history of research in Aeroponics.
Step 1: Materials
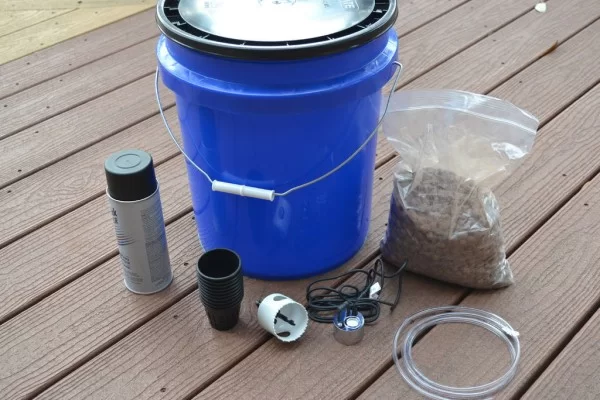
5 gallon Bucket (Any similar container should work, you’ll just have to adapt)
Black spray paint (If your bucket allows in a significant amount of light)
Net pots
Clay beads
Pond Fogger/ any misting device
Hole saw (should match the size of your net pots)
Clear tubing (1-2 feet will suffice if you’re using a 5 gallon bucket)
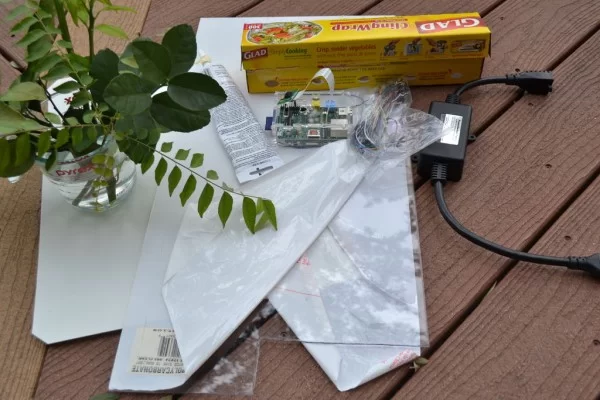
Watertight sealant
Any sort of plastic/lexan (I used some of both)
Raspberry Pi
Raspberry Pi Camera
Jumper wires
PowerSwitch Tail II power cord
Plant cuttings (keep them in water or gather them during the necessary step so they don’t dry out)
Saran Wrap (Optional)
Step 2: Painting the Bucket
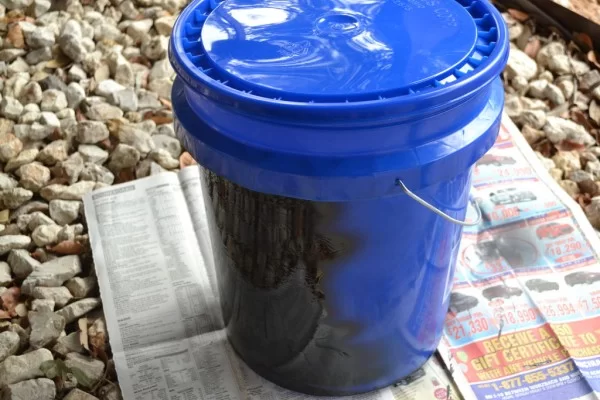
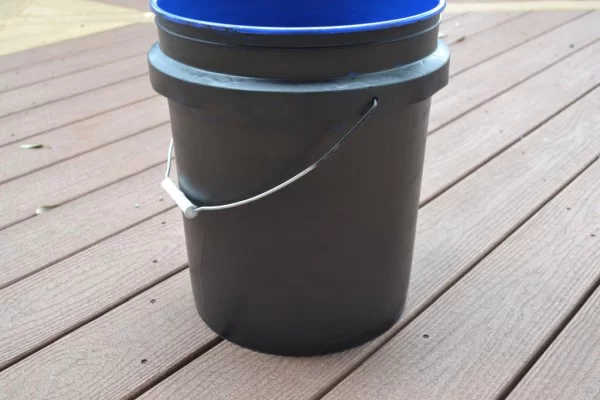
*This step is only necessary if your container allows in a significant amount of light (white,transparent,etc…). There will be water in the container and with too much light unwanted mold/organisms can grow in the container*
Paint the container you plan to use completely.
Step 3: Preparing the Lid
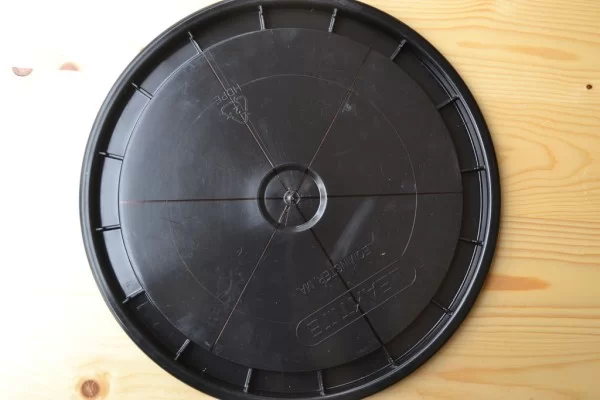
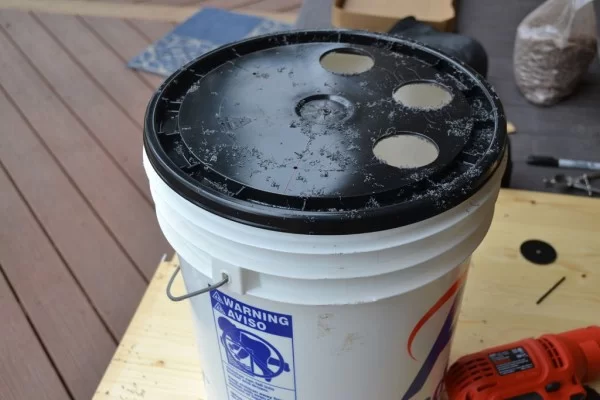 Here, we’ll create holes in the lid that will house the net pots. Begin by dividing the lid into equal portions. Find and mark (or pilot hole) equally spaced locations, making sure that they are spaced enough so that when the hole saw is used the holes don’t overlap. Use the hole saw on the marked spots. Finally, I used a knife to clean up the holes.
Step 4: Preparing the Lid (Continued)
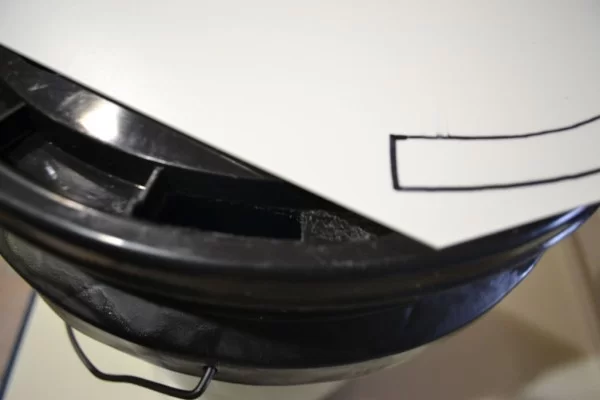
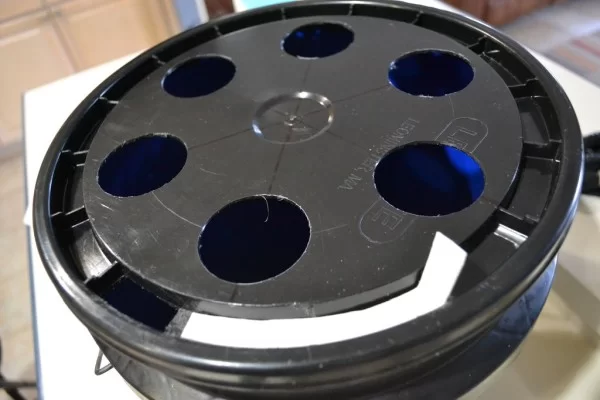
Two more cutouts will be added to the bucket. Let’s start with with one for watering. First, create a cutout using the plastic/lexan, this will cover the hole you then make in the bucket. The bucket I used had a convenient indent than ran around the rim, which allowed me to make a clever sliding cover. However, any sort of hole with a lexan/plastic cutout cover will work. Next, simply choose another spot and drill a hole of the smallest size possible that will still allow the wire from your fogger through. This completes the lid preparation!
Step 5: Water Level Indicator
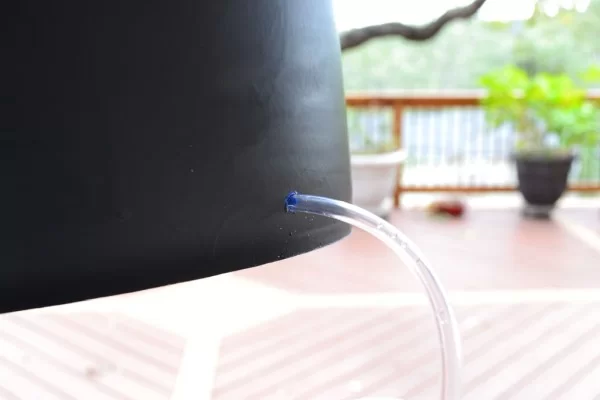
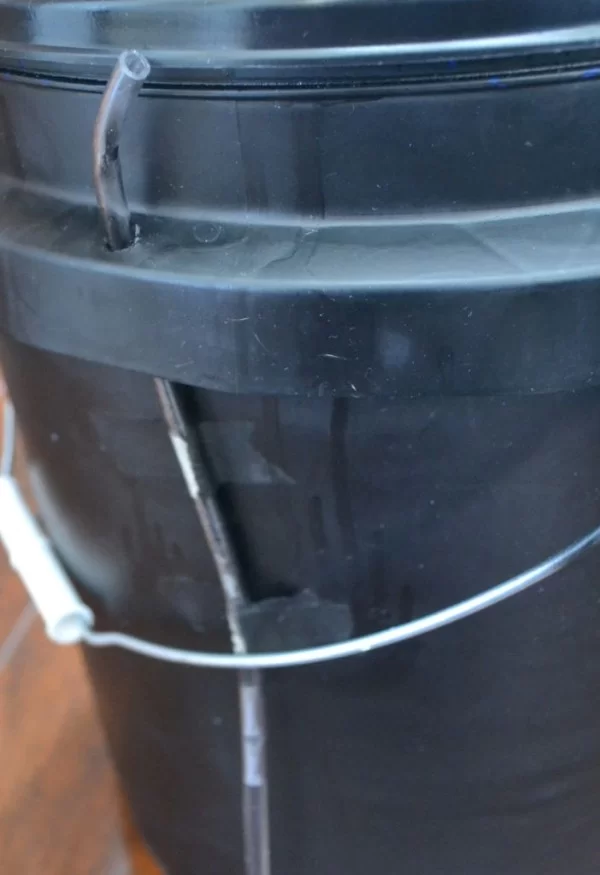
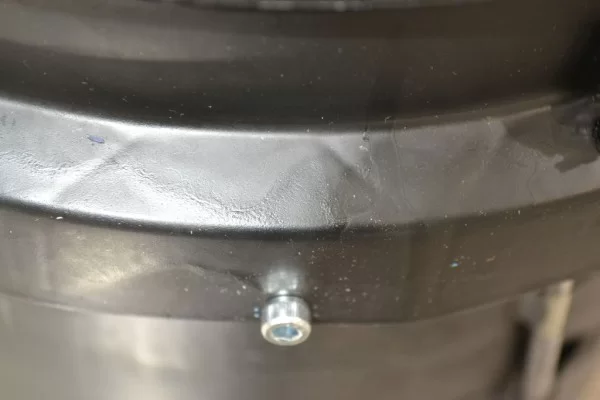
Drill a hole along the side of the bucket at the bottom (sized so that the tubing fits snuggly). Next, route the tube up to the top of the bucket, along the side. You can attach it with tape, or if your bucket has extra plastic that bulges out you can drill a hole and put the tube through there as I did (see photos). Finally, apply sealant to the bottom hole around the tube and allow it to dry. Later on I spray painted this area to match the rest of the bucket, but you don’t have to. When you fill the bucket up with water, the water level in the tube will rise to match the bucket. Now you’ll know exactly when to add more water.
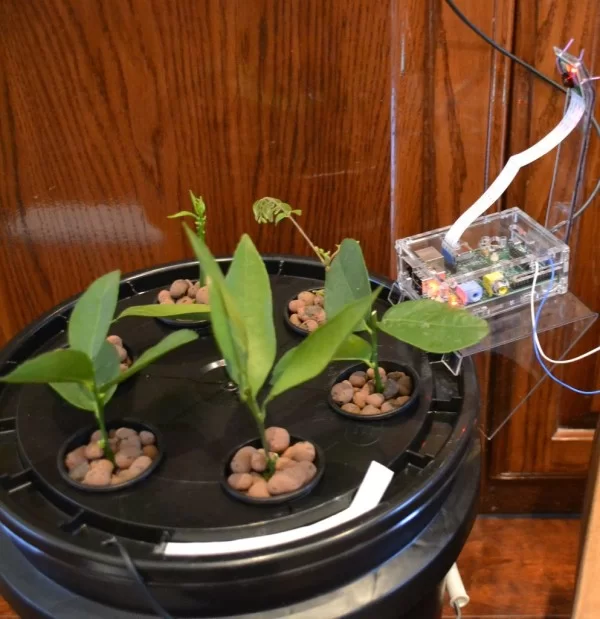
Step 6: Raspberry Pi Mount

Now that you have a functioning aeroponics setup, it’s time to add some raspberry pi! A quick test of the fogger (placing it in the bucket with water and routing it to a power source) showed that the container works as planned.
Next, you’ll want to get out the lexan and begin creating a mount for the Raspberry Pi. I started with a rectangular piece of lexan which i bent into a V shape, with some bent flaps at the end. The mount grabs the indent on the bucket and holds itself along the side. This makes a level platform for the raspberry pi to simply sit on. Using another thin strip of lexan, a simple mount could be made for the camera module. I drilled some holes in the camera mount, and using paper clips (resourceful, I know) I attached the camera to the mount. The camera mount and RPi mount are simply glued together with super glue. Depending on what container you use, your mount will probably have to be modified a bit.
I find that adding a small screw under the Raspberry Pi mount makes for added support.
Step 7: Wiring


Next is the wiring from the Raspberry Pi to the PowerSwitch Tail II. The PowerSwitch allows you to control power flowing from an outlet to another device, using a microcontroller to oversee this process. First route one jumper cable from the Pi’s GPIO pin 6 (0V) to the PowerSwitch’s second port labeled -in. Then route a second cable from GPIO 23 or any other 3.3V powered pin to the PowerSwitch’s first port labeled +in. Then connect one end of the PowerSwitch to an outlet, and the other to your fogger.
Step 8: Software
For the Raspberry Pi camera module I used the following command in the terminal:
raspistill -o image.jpg -tX -tlX
where the X’s can be any amount of time (in ms). -t controls how long the camera will run, and -tl controls how often a photo will be taken.
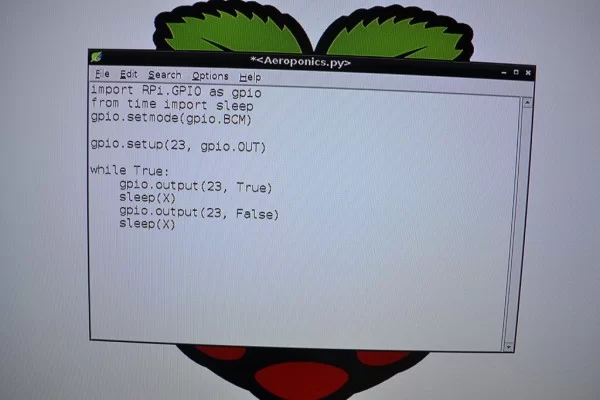
I used another piece of code, running on idle 3, to cycle on/off periods for the GPIO, which controls the PowerSwitch Tail, which controls the fogger. Again, X is the amount of time you choose for a cycle.
*I am sure there is a much more efficient way to do this part, but i’m still quite new to the Pi*
Step 9: Add the Cuttings
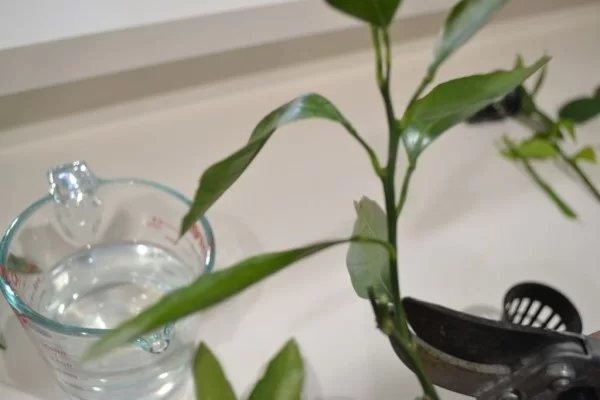
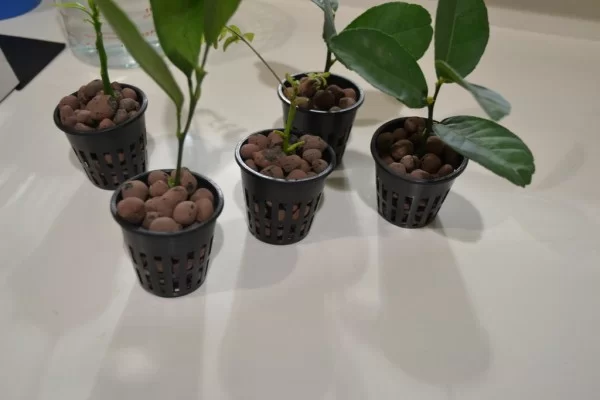
Start by trimming the cuttings, so that there is enough stem exposed to be placed in the net pots. Then, fill the net pots with clay beads and place the cuttings in the beads. Now you can place the potted plants into the aeroponics chamber. You can also cover the top of your net pots with saran wrap, making sure it covers the clay beads. This will decrease water loss.Run your code and you’re finished!
Step 10: Finished Product
 Helpful Tips:
Remember to keep the water level to the specifications of the fogger.
You can add liquid nutrient solution to the water to help keep your plants healthy.
Some indoor environments can get pretty dry, so it can help to spray the cuttings with water when they look a bit dry.
About The Author
Hassan Zaka
I am an expert in accounting and possess diverse experience in technical writing. I have written for various industries on topics such as finance, business, and technology. My writing style is clear and simple, and I utilize infographics and diagrams to make my writing more engaging. I can be a valuable asset to any organization in need of technical writing services.
Follow Us:LinkedinTwitter