Overview of Adding Nest to Homekit: A Complete Guide with Matter Integration
Nest thermostats can now integrate with Apple HomeKit via the Matter protocol, enabling control through the Apple Home app and Siri. Compatible models include Nest Learning Thermostat (3rd and 4th gen) and Nest E. Setup requires iOS 15+, Matter-compatible firmware, and a Thread Border Router; pairing uses the Home app and QR code on the thermostat. Benefits include automation with other HomeKit devices, energy savings, and secure communication. Troubleshooting and iCloud Security Code reset steps are provided. Some Nest-specific features may remain exclusive to the Nest app.
Quick Solutions to Questions related to Nest Thermostat and HomeKit:
-
How do I add my Nest Thermostat to Apple HomeKit via Matter?
Open the Home app on iOS, tap +, select Add Accessory, choose I Don't Have a Code or Cannot Scan, scan the QR code from Settings > Technical Info > Thread Network on the thermostat, and follow prompts to complete setup. -
Can I use Siri to control my Nest Thermostat after integration?
Yes, once added to HomeKit via Matter you can use Siri to control temperature and thermostat settings. -
What Nest Thermostat models are compatible with HomeKit via Matter?
Compatible models listed are Nest Learning Thermostat (3rd generation), Nest Learning Thermostat (4th generation), and Nest E Thermostat. -
What prerequisites are needed before pairing Nest with HomeKit?
Your thermostat must support Matter firmware, your iOS device should run iOS 15 or later, and you need a Thread Border Router or equivalent network support. -
How do I restore or reset my iCloud Security Code for HomeKit?
In the Home app tap Home > Home Settings > People, select your profile, tap Reset HomeKit Configuration, then set up accessories again and create a new iCloud Security Code.
You can now make your home super cool with Nest and Apple HomeKit. Just say a command, and your lights will turn on, the temperature will be perfect, and your favorite music will start playing. It’s like being in a futuristic movie! And it’s not just a dream anymore. With Nest products and Apple HomeKit working together, turning your house into a smart home is super easy and convenient.
Lots of people want smart home devices that work well together, including Nest HomeKit integration. Nest and HomeKit can do that. They use Matter to connect and you can control your Nest devices from the Apple Home app. It’s easy and simple to select the temperature using Google Home, just a few taps or voice commands.
Benefits of connecting Nest Thermostat to Apple HomeKit via Matter
Improved Control and Convenience
Connecting your Nest Thermostat to Apple HomeKit via Matter is the solution you need to tap into for enhanced control and convenience over your home’s temperature settings. With the homebridge nest integration, you can easily adjust the temperature using voice commands or through the Apple Home app on your iPhone or iPad. This integration allows seamless control of your nest homekit devices. No more getting up from the couch to manually change the thermostat!
Integration with Other Smart Devices
One of the coolest things about connecting your Nest Thermostat to Apple HomeKit is how it seamlessly integrates with other smart devices in your Apple ecosystem. You can create automation routines that sync multiple devices together, such as turning off the lights when you leave home or adjusting the temperature based on occupancy sensors. It’s like having a smart home orchestra at your fingertips!
Energy-Saving Features and Personalized Comfort Settings
By linking your Nest Thermostat to Apple HomeKit, you gain access to energy-saving features that help reduce utility bills while keeping you comfortable. The system learns your preferences over time and adjusts accordingly, optimizing energy usage without sacrificing comfort. Plus, with personalized comfort settings for different times of day or specific rooms, you can enjoy a cozy living room while keeping the bedroom cool for a good night’s sleep.
Enhanced Security and Privacy
Connecting your Nest Thermostat to Apple HomeKit via Matter ensures peace of mind. The integration utilizes secure communication protocols, safeguarding against unauthorized access or data breaches. You can trust that only authorized devices within your Apple ecosystem have control over your thermostat settings.
Step-by-step guide: Adding Nest Thermostat to Apple HomeKit
Detailed Instructions for Adding a Nest Thermostat to Apple HomeKit via Matter
To add your Nest Thermostat to Apple HomeKit using the Matter protocol, follow these step-by-step instructions:
- Ensure that your Nest Thermostat is compatible with Apple HomeKit and supports the Matter protocol.
- Make sure you have an iOS device running iOS 15 or later and a stable internet connection.
- Open the Home app on your iOS device.
- Tap on the “+” icon in the top-right corner of the screen to add a new accessory.
- Select “Add Accessory” and choose “I Don’t Have a Code or Cannot Scan.“
- On your Nest Thermostat, go to Settings > Technical Info > Thread Network > QR Code.
- Use your iPhone’s camera to scan the QR code displayed on your Nest Thermostat’s screen.
- Follow the prompts in the Home app to complete the setup process.
Explaining Necessary Prerequisites for a Successful Setup Process
Before adding your Nest Thermostat to Apple HomeKit via Matter, it’s important to ensure that you meet certain prerequisites:
- Your Nest Thermostat should be updated with the latest firmware version that supports Matter compatibility.
- Your home network must have a compatible Thread Border Router (TBR) or be connected to one through an Ethernet cable.
Troubleshooting Common Issues During the Pairing Process
If you encounter any issues while pairing your Nest Thermostat with Apple HomeKit, try these troubleshooting steps:
- Make sure both your iPhone and Nest Thermostat are connected to the same Wi-Fi network.
- Restart both devices and attempt pairing again.
- Reset your Nest Thermostat by going into Settings > Reset > Restart and then retry pairing.
Tips for Optimizing Connection Between Nest Thermostat and Apple HomeKit
To optimize the connection between your Nest Thermostat and Apple HomeKit, consider the following tips:
-
Ensure that your Wi-Fi signal is strong and stable near the thermostat.
-
Keep your Nest Thermostat away from any sources of interference, such as other electronic devices or appliances.
Compatibility and setup guide for Nest Thermostats with HomeKit via Matter
Compatible Models within the Nest Thermostat Lineup
If you’re looking to add Nest Thermostats to your Apple HomeKit setup using the new Matter protocol, it’s essential to understand which models are compatible. Currently, the following Nest Thermostat models can integrate seamlessly with HomeKit:
- Nest Learning Thermostat (3rd generation)
- Nest Learning Thermostat (4th generation)
- Nest E Thermostat
Step-by-step Instructions on Setting up Specific Models with Apple HomeKit
Setting up your compatible Nest Thermostat with Apple HomeKit is a straightforward process. Here’s a step-by-step guide:
- Ensure that your thermostat is connected to Wi-Fi and functioning correctly.
- Open the Home app on your iPhone or iPad.
- Tap on the “+” icon in the top-right corner of the screen to add a new device.
- Select “Add Accessory” and follow the prompts until you see your thermostat listed as an available device.
- Tap on your thermostat’s name to connect Nest to HomeKit and enter any necessary information, such as room assignment or Siri voice commands. Does Nest work with Apple HomeKit?
- Complete the setup process by following any additional instructions provided by the app.
Highlighting Any Additional Requirements or Limitations During Setup
While setting up your Nest Thermostat with Apple HomeKit is relatively simple, there are a few things to keep in mind:
- Make sure that all devices involved (thermostat, iPhone/iPad, router) are running updated software versions for optimal compatibility.
- Some features or settings specific to the Nest app may not be accessible through HomeKit integration.
- It’s important to note that older generations of Nest thermostats may not support Matter/HomeKit integration.
Addressing Frequently Asked Questions Regarding Compatibility
Here are some frequently asked questions regarding compatibility between Nest Thermostats and Apple HomeKit via Matter:
- Q: Can I control my Nest Thermostat using Siri commands?
-
A: Yes, once set up with HomeKit, you can use Siri to control your thermostat’s temperature and settings.
-
Q: Will integrating my Nest Thermostat with HomeKit affect its functionality with other smart home platforms?
-
A: No, integrating with HomeKit should not impact the functionality of your Nest Thermostat with other platforms.
By following these steps and keeping in mind any limitations or requirements, you’ll be able to seamlessly integrate your compatible Nest Thermostat with Apple HomeKit via Matter for enhanced smart home automation.
Restoring iCloud Security Code for seamless HomeKit integration
To ensure a secure connection between your devices, the iCloud Security Code plays a crucial role. If you’ve forgotten your code or experiencing issues with it, don’t worry! I’ll guide you through the steps to restore or reset your iCloud Security Code and help you achieve seamless integration with HomeKit.
Importance of iCloud Security Code in ensuring secure device connections
The iCloud Security Code acts as an extra layer of protection to connect Nest to HomeKit for your smart home network. It verifies the identity of your devices and ensures that only authorized devices can access your HomeKit accessories. By restoring or resetting this code, you can maintain the security and privacy of your connected devices.
Steps to restore or reset iCloud Security Code if forgotten
If you’ve forgotten your iCloud Security Code, follow these simple steps to restore it:
- Open the Home app on your iOS device.
- Tap on the “Home” tab at the bottom.
- Scroll down and tap on “Home Settings.”
- Under “People,” select your user profile.
- Tap on “Reset HomeKit Configuration.”
- Follow the prompts to reset your HomeKit configuration.
- Once completed, set up your accessories again and create a new iCloud Security Code.
Ensuring smooth integration by resolving iCloud-related issues
Sometimes, you may encounter issues related to iCloud during the integration process. Here are some troubleshooting tips to resolve them:
- Ensure that you’re signed in with the correct Apple ID on all devices.
- Check if there’s an active internet connection on all devices.
- Restart all devices involved in the setup process.
- Update to the latest version of iOS or iPadOS on all devices.
Best practices to safeguard your smart home network
While integrating Nest Thermostats with HomeKit via Matter, it’s crucial to follow these best practices for a secure smart home network:
- Regularly update firmware and software for all devices.
- Use strong, unique passwords for your accounts and devices.
- Enable two-factor authentication for added security.
- Keep your devices physically secure to prevent unauthorized access.
By restoring your iCloud Security Code and implementing these best practices, you can ensure a seamless integration of Nest Thermostats with HomeKit while maintaining the security and privacy of your smart home network.
Connecting Google Nest Thermostat to Apple Home via Matter: Updates and future plans
Recent updates and developments have made it possible to integrate Google Nest thermostats with Apple HomeKit using the new Matter protocol. This exciting advancement brings together two popular smart home ecosystems, allowing users to control their Nest thermostats directly from their Apple devices.
Updates and future roadmap
The integration of Google Nest with Apple HomeKit via Matter opens up a world of possibilities for users. With this recent update, users can now easily add their Nest thermostats to their existing Apple Home ecosystem, providing seamless control and automation options. The collaboration between Google, Apple, and other industry players aims to enhance compatibility and expand support for more devices in the future.
Benefits for users with multiple smart devices
One of the major advantages of integrating Google Nest thermostats with Apple HomeKit is the ability to manage multiple smart devices from different ecosystems within a unified platform. Users who have both Google Nest products and Apple HomeKit-enabled devices can now enjoy a more streamlined experience by controlling all their connected devices through a single app.
Collaborative efforts driving innovation
The integration of Google Nest with Apple HomeKit via Matter is a result of collaborative efforts between tech giants like Google and Apple. By working together, these companies are pushing boundaries in the smart home industry, creating interoperability standards that benefit consumers. This collaboration not only enhances user experience but also encourages further innovation in the field of smart home technology, specifically in regards to Nest HomeKit integration.
Enhancing your smart home with Nest and HomeKit integration
Congratulations! You’re now equipped with the knowledge to seamlessly integrate your Nest Thermostat into your Apple HomeKit ecosystem. By connecting these two powerful platforms, you’ll unlock a whole new level of convenience and control over your smart home.
Imagine being able to adjust the temperature in your home with a simple voice command or automate it based on your daily routine. With Nest and HomeKit working together, you can effortlessly create a comfortable environment that adapts to your needs. Whether you’re looking to save energy, enhance security, or simply enjoy the convenience of a connected home, this Homebridge Nest integration will revolutionize the way you interact with your living space.
So why wait? Take the next step towards creating your dream smart home by following our step-by-step guide and exploring the possibilities of Matter-Nest-HomeKit connection. Start enjoying the benefits of seamless integration today!
FAQs
Can I control my Nest Thermostat using Siri?
Yes, once you’ve successfully added your Nest Thermostat to Apple HomeKit via Matter, you can control it using Siri commands. Simply activate Siri on your Apple device and ask it to adjust the temperature or perform other thermostat-related tasks.
Will connecting my Nest Thermostat to HomeKit affect its compatibility with other platforms?
No, integrating Nest Thermostat with HomeKit does not limit its compatibility with other platforms or ecosystems. It allows for seamless integration while maintaining compatibility across multiple devices and services.
Can I set up automation routines involving my Nest Thermostat within Apple’s Home app?
Absolutely! Once integrated into Apple HomeKit via Matter, you can create automation routines within the Home app that involve controlling your Nest Thermostat. This enables you to automate temperature adjustments based on time of day, occupancy status, or any other triggers supported by HomeKit.
How does connecting my Google Nest Thermostat to Apple Home via Matter benefit me?
By connecting your Google Nest Thermostat to Apple Home via Matter, you can expand the compatibility and control options for your smart home. It allows you to integrate your Google Nest devices into the Apple ecosystem, enabling seamless control and automation alongside other HomeKit-enabled devices.
What is the future of Nest and HomeKit integration?
The integration between Nest and HomeKit is continually evolving, with updates and improvements being released regularly. Both Google and Apple are committed to enhancing interoperability between their platforms, ensuring that users can enjoy a unified smart home experience. Stay tuned for future updates as these two powerful ecosystems continue to converge.
More To Know: Apple Homekit Devices 2019
Nest Thermostat: You will be able to display and edit the automatic schedule, and to monitor the sound. Saving your energy will help. You can display your history via HAVC computer so that you can test how much energy you’ve used.
Nest Alarm System: IOS app helps you to monitor the nest-secure alarm, you can easily turn on and off the alarm remotely wherever you are. When you leave home, you will get a security alarm on your iPhone, it will alert you if you fail to set alarm, and if someone attempts to reach your house, it will also get a notification.
Nest Doorbell: You’ll enjoy 24-hour video streaming network. The app will alert visitors about them. If you can’t answer the door then pre-register the guest’s voice. It records a 30-day history.
More To Know: List of Homekit Devices and Price 2020
Most People’s Popular Nest Devices
Nest Thermostat
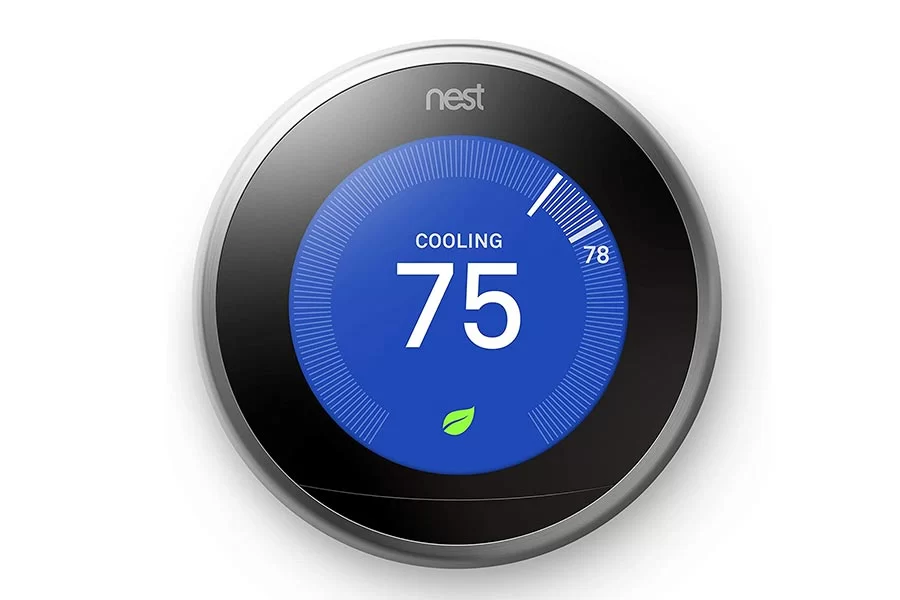
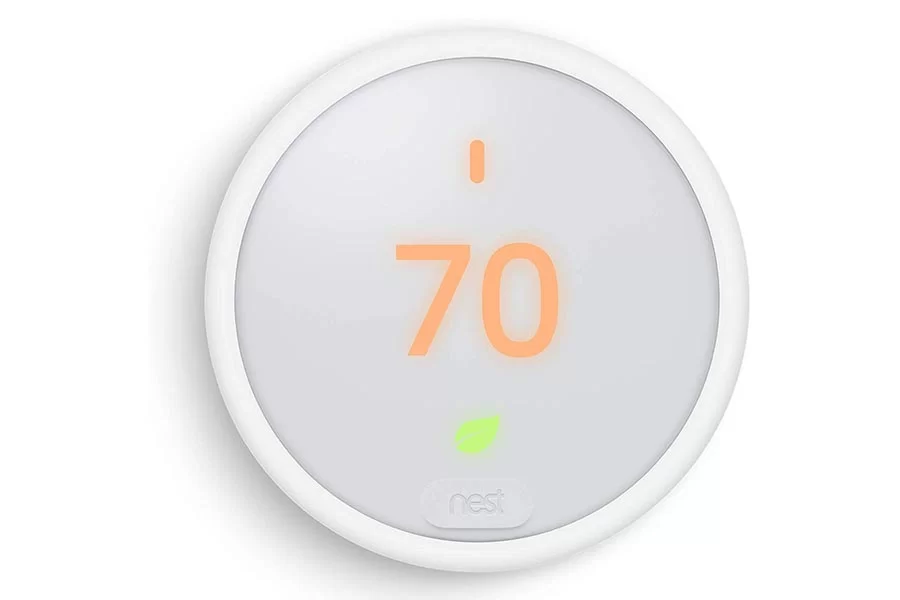
| $219.99 | $169.00 |
Nest Smart Camera
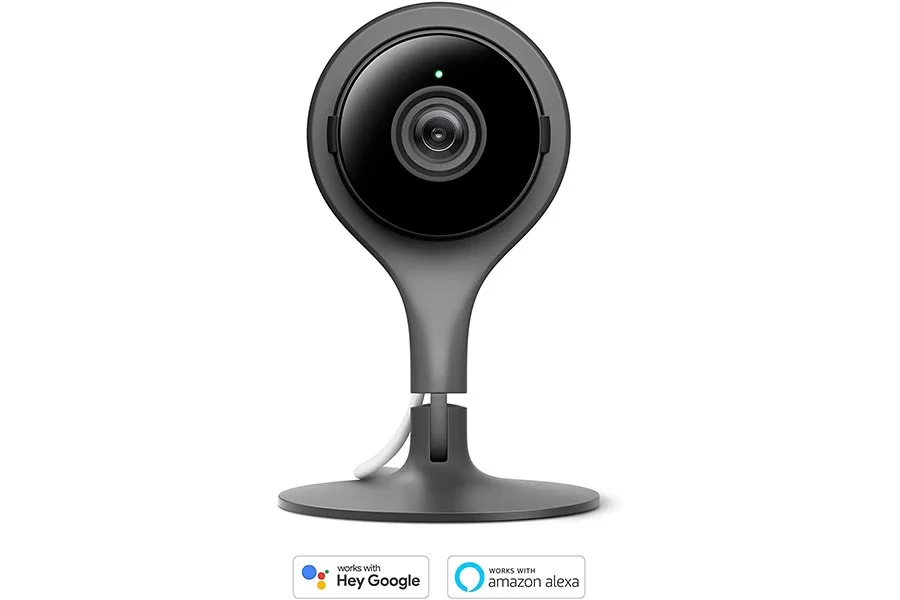
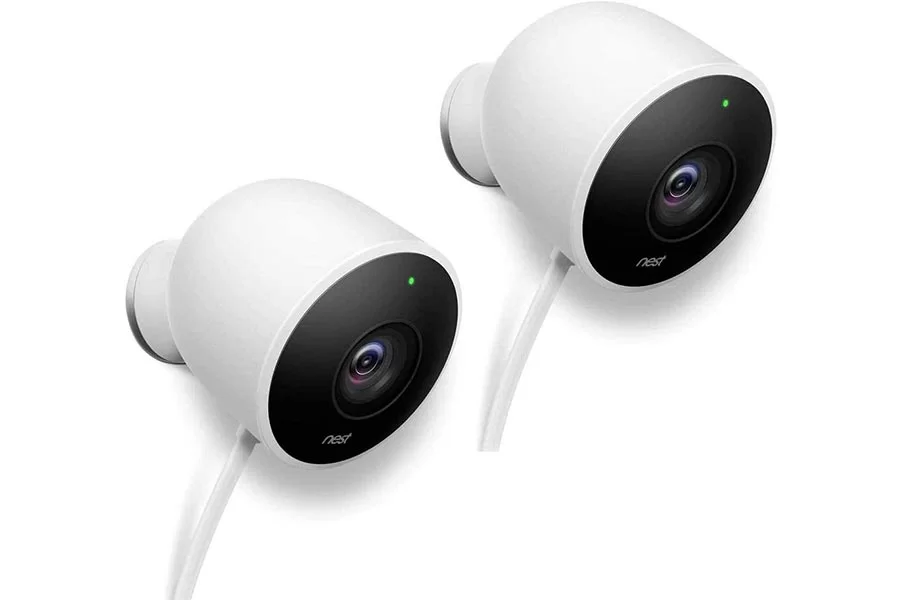
| INDOOR | OUTDOOR |
| $125.00 | $179.90 |
Nest Protect
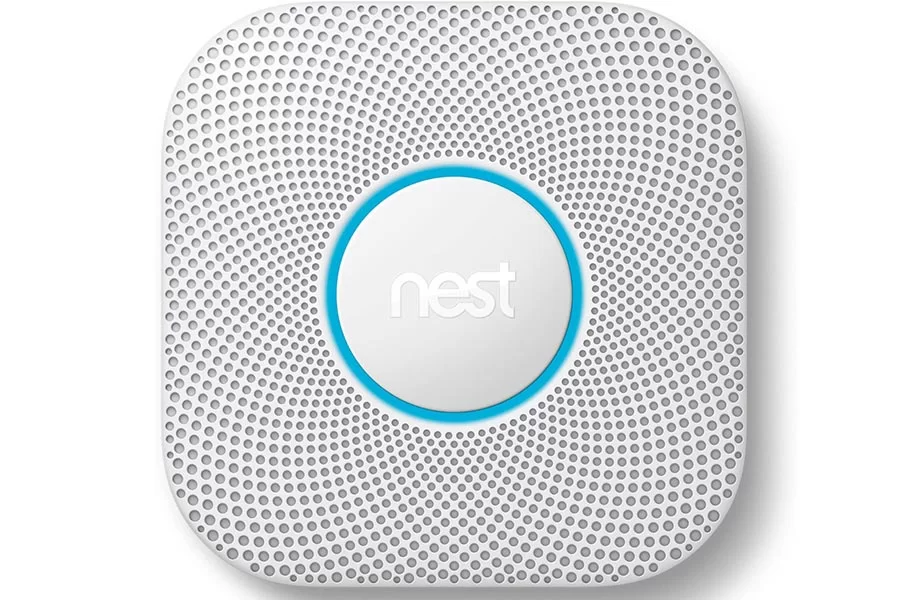
| $115.99 |
Nest Hello
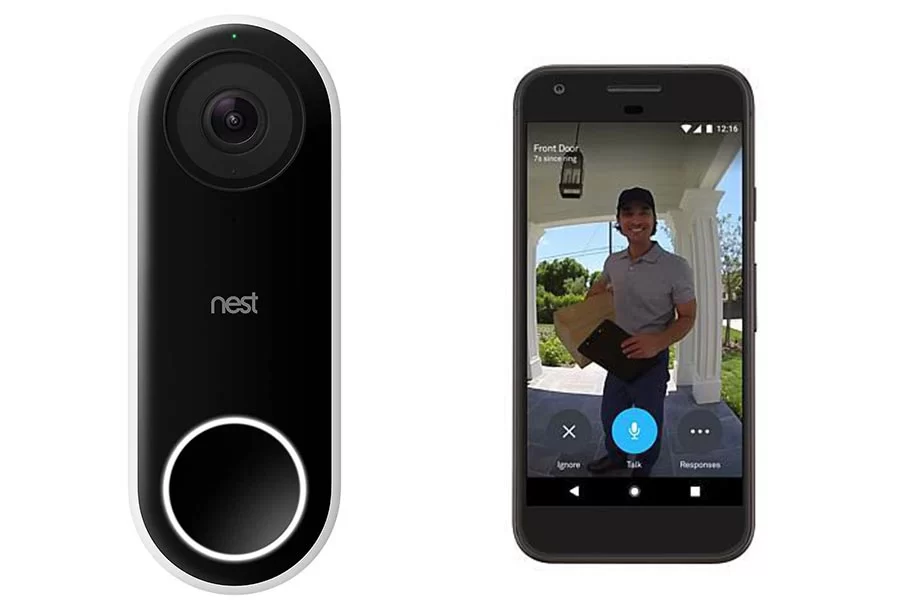
| $186.99 |
Nest x Yale Lock

| $229.0 |
About The Author
Hassan Zaka
I am an expert in accounting and possess diverse experience in technical writing. I have written for various industries on topics such as finance, business, and technology. My writing style is clear and simple, and I utilize infographics and diagrams to make my writing more engaging. I can be a valuable asset to any organization in need of technical writing services.
Follow Us:LinkedinTwitter


