Overview of How to Factory Reset Your Nest Learning Thermostat (4th Generation)
This article explains when and how to factory reset a Nest Learning Thermostat (4th Gen). It covers reasons to reset, prerequisites (Wi-Fi password, 15–20 minutes), step-by-step instructions using the thermostat ring to access Settings, find Factory Reset, confirm Reset and Yes, and wait for the device to complete. After reset, all settings are erased and Wi-Fi and schedules must be reconfigured. Tips include doing it when not rushed, having account details ready, and contacting Nest support if needed.
Quick Solutions to Questions related to Nest Learning Thermostat (4th Gen):
-
When should I factory reset my Nest Learning Thermostat (4th Gen)?
Reset if you are moving and leaving it, moved into a home with an existing Nest, the thermostat is malfunctioning, or you want to switch accounts. -
What do I need before starting a factory reset?
Have your Wi-Fi password, allow 15–20 minutes, know the reset is irreversible, and optionally photograph current settings. -
How do I access the Factory Reset option on the Nest?
Wake the Nest, press the outer ring to open the menu, turn to the gear icon for Settings, then turn the ring to find Factory Reset and press to select it. -
How do I confirm and perform the reset?
Rotate the ring to highlight Reset, press to select, rotate to highlight Yes when asked Are you sure?, then press to confirm and wait while Resetting runs. -
What happens after the Nest completes the reset?
All settings, schedules, and account links are wiped; you must reconnect Wi-Fi, sign into a Nest account, and recreate temperature schedules.
Hey there! Thinking about resetting your Nest thermostat (4th Gen)? I’ll walk you through everything you need to know – in plain English, no tech jargon, I promise!
First Things First: Should You Reset?
Let’s talk about when you might want to do this. You’ll probably want to reset your Nest if:
- You’re moving and leaving your Nest behind (your buyers will thank you!)
- You just moved into a place with an existing Nest (time to make it yours!)
- Your Nest is acting up and nothing else seems to help
- You want to switch to a different Nest account
Just remember – once you reset, everything gets wiped clean. It’s like giving your thermostat a fresh start!
Before You Start: What You Should Know
Quick heads-up! Before you dive in:
- Have your Wi-Fi password handy – you’ll need it later
- Know that there’s no “undo” button after a reset
- Set aside about 15-20 minutes for the whole process
- Maybe snap a photo of your current settings if you want to recreate them later
Let’s Do This: How to Factory Reset Your Nest Learning Thermostat (4th Generation)
Step 1: Getting Into Settings

- Wake up your Nest
- Either walk past it (yes, it can sense you!)
- Or give the display a gentle tap
- Get to the Menu
- See that outer ring? That’s your best friend here
- Press it once to open the menu
- Turn it (like an old-school radio dial) until you see the gear icon
- Press once more to enter settings
Step 2: Finding the Reset Option

- Keep turning that ring – you’re looking for “Factory Reset”
- It’s usually hanging out near the bottom of the menu
- When you find it, press the ring to select it
Step 3: The Important Part (Pay Extra Attention Here!)
Here’s where people sometimes get stuck:

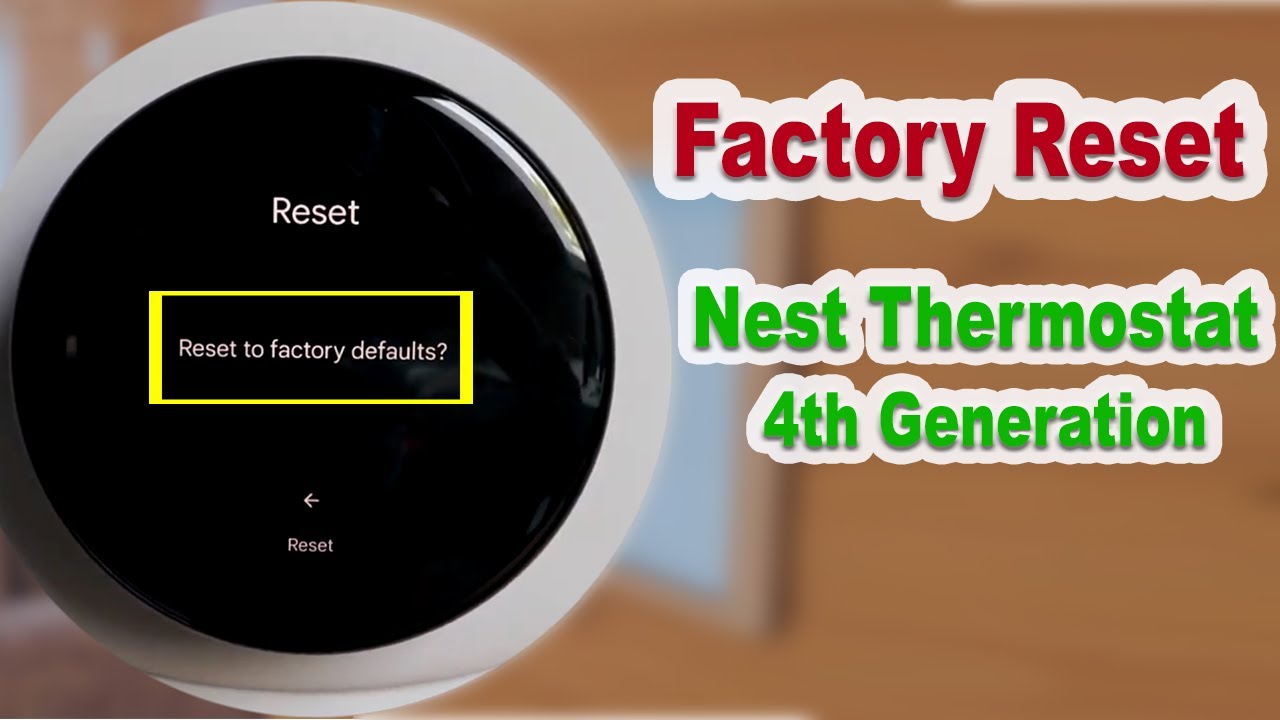
- You’ll see a reset screen
- Now, this is crucial: rotate the ring until “Reset” is highlighted
- The highlight can be pretty subtle (like, really subtle)
- Double-check that you’ve selected “Reset” before pressing
- When it asks “Are you sure?” rotate to highlight “Yes”
- One final press to confirm
Step 4: The Waiting Game

- You’ll see “Resetting” on the screen
- Just let it do its thing – it won’t take long
- When it’s done, your Nest will be back to its factory-fresh state
After the Reset: What’s Next?
Your Nest is now like new! This means:
- All your old settings are gone (temperatures, schedules, everything)
- It’s ready to connect to a new account
- You’ll need to set up your Wi-Fi again
- Time to create fresh temperature schedules
Pro Tips from Experience
- Best time to do this? When you’re not in a rush
- Have your Nest account details ready if you’re planning to reconnect
- If you’re keeping the thermostat, you might want to do the setup right away
- Getting stuck? Nest’s support team is actually pretty helpful
Remember, while this might seem like a lot of steps, it’s actually pretty straightforward once you get started. Just take it one step at a time, and you’ll have your Nest reset in no time!
Need help with anything specific? Just reach out – we’ve all been there with tech stuff, and there’s no such thing as a silly question! 😊
Relevant Topics
How to Connect Google Nest Mini to Wi-Fi
How to Fix Google Nest Mini Not Connecting To Wi-Fi
Nest Thermostat Delayed & How to Fix it
About The Author
Hassan Zaka
I am an expert in accounting and possess diverse experience in technical writing. I have written for various industries on topics such as finance, business, and technology. My writing style is clear and simple, and I utilize infographics and diagrams to make my writing more engaging. I can be a valuable asset to any organization in need of technical writing services.
Follow Us:LinkedinTwitter


