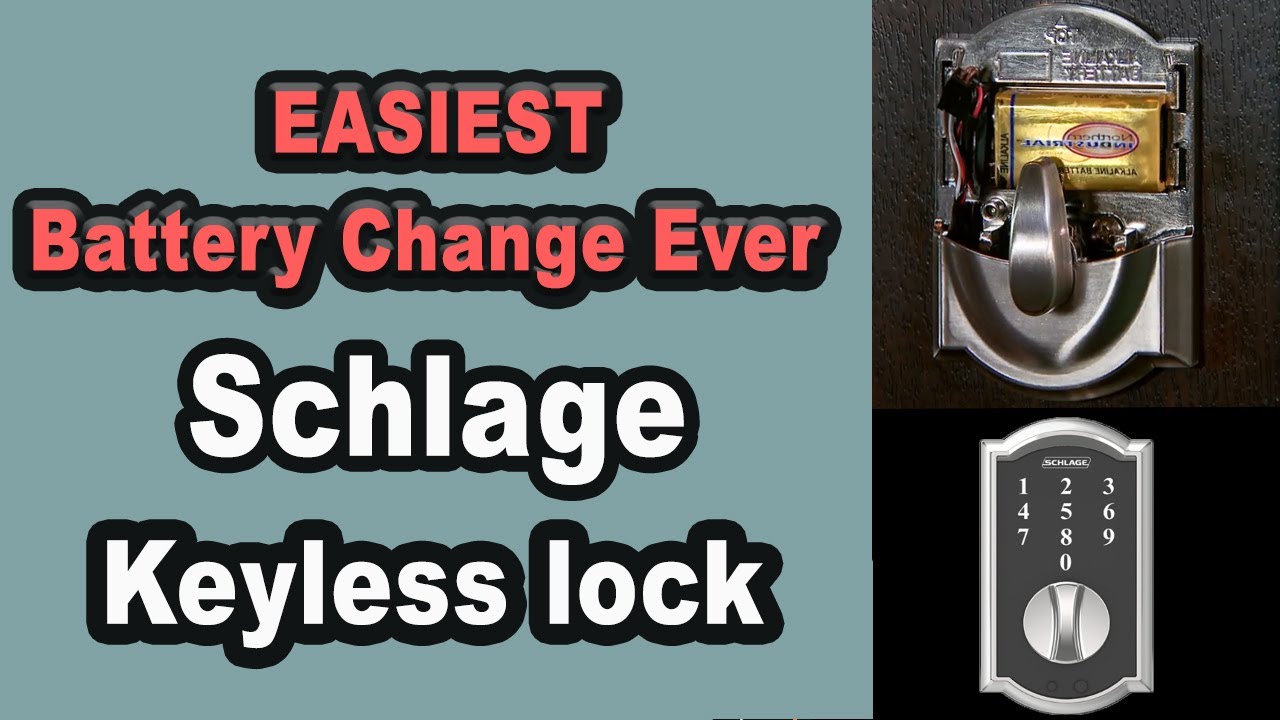
Overview of How to Replace the Battery in Your Schlage Door Lock
A red blinking light on a Schlage lock signals a low battery and requires prompt replacement to maintain electronic functions. Identify your lock type (deadbolt or lever), access the interior battery compartment, remove the old 9-volt battery, install a new 9-volt in the same orientation, listen for a confirmation beep, replace the cover, and test the lock. Use quality batteries, keep a spare, and perform basic maintenance to ensure continued keyless and smart features.
Quick Solutions to Questions related to Schlage Battery Change:
-
What does a red blinking light on my Schlage lock mean?
It is a low battery indicator telling you it is time to replace the lock's 9-volt battery. -
How do I access the battery compartment on a Schlage deadbolt?
On the inside of the door, slide the battery cover upward—no tools required—to access the compartment. -
How do I access the battery compartment on a Schlage lever set?
On the inside of the door, use a small flathead screwdriver to gently pop open the cover at the designated tab to reach the battery. -
What type of battery does a Schlage electronic lock use?
Schlage electronic locks use a 9-volt battery. -
How do I know the new battery is installed correctly?
After installing the new 9-volt battery in the same orientation, you should hear a single beep confirming proper installation.
Have you spotted a red blinking light on your Schlage door lock? Don’t panic—this is simply your lock letting you know it’s time to change the battery. As an expert on Schlage lock maintenance, I’m here to walk you through this simple process. Follow these steps, and you’ll have your lock functioning properly again in no time.
What Does the Red Blinking Light Mean?
If your Schlage lock’s red light starts blinking, it’s not an emergency, but it’s something you should address soon. The red light serves as a low battery indicator, letting you know it’s time to replace the battery. Failing to replace it could lead to the electronic functions of the lock ceasing to work, so it’s important to act quickly.
Replacing the battery will take just a few minutes, and doing so regularly will keep your home secure and your lock in optimal condition.
Step-by-Step Guide for Changing the Battery
-
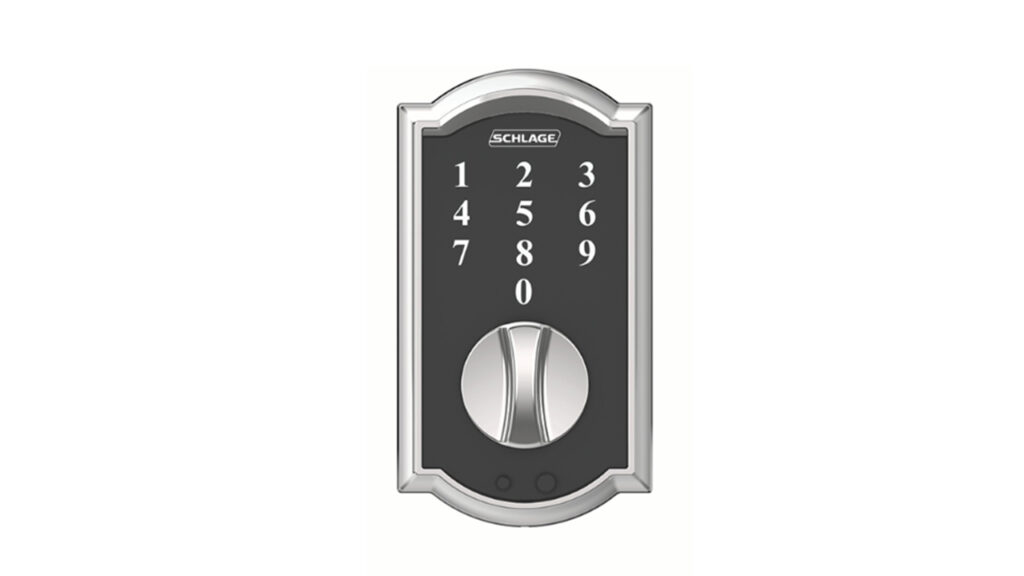
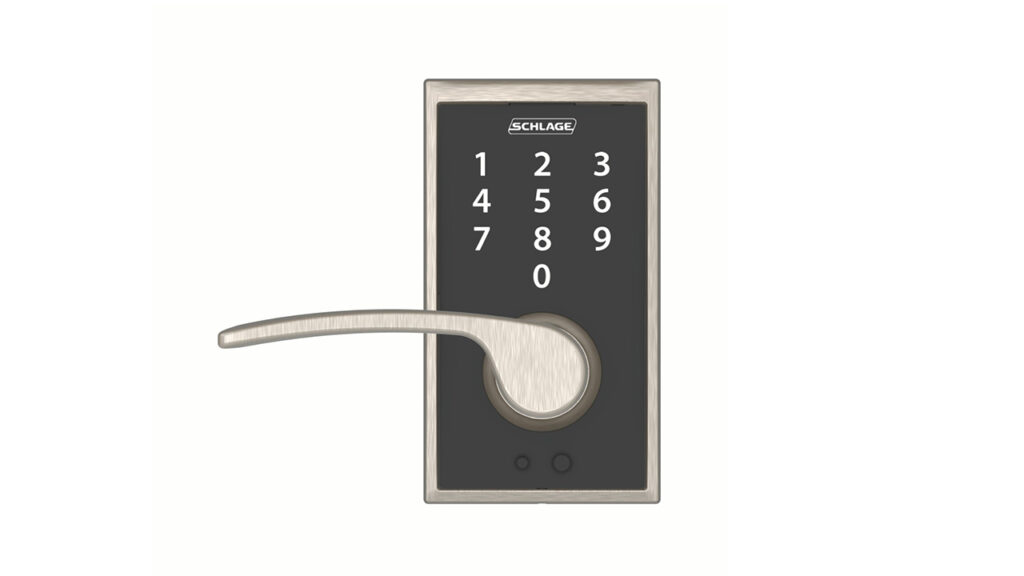
Identify Your Schlage Lock Type
Schlage offers a variety of locks, but the two most common types are:
- Schlage Deadbolt Locks
- Schlage Lever Set Locks
The process for changing the battery differs slightly between these two types. Knowing which one you have will ensure you follow the right steps.
-
Access the Battery Compartment
Once you’ve identified your lock type, locate the battery compartment. This is always found on the inside part of the door lock—the side that faces into your home.
- For Schlage Deadbolt Locks: You don’t need any tools to access the battery. Simply slide the cover upwards, and it will come off. Schlage has designed this to be as simple as possible, so don’t worry about using any excessive force.
- For Schlage Lever Set Locks: These locks may require a bit more work. Use a small flathead screwdriver to gently pop open the cover at the designated tab. This will give you access to the battery compartment.
-
Remove the Old Battery
With the cover removed, you’ll now see the old battery. Schlage electronic locks use 9-volt batteries, so that’s what you’ll be replacing. Carefully remove the old battery, paying attention to its orientation. You’ll want to install the new battery in the same position to ensure proper function.

-
Install the New Battery
Now, take your fresh 9-volt battery and insert it into the battery compartment in the same orientation as the old one. Once you’ve inserted it correctly, listen for a single beep. This beep signals that the new battery is installed properly and your lock is ready to use again.

-
Replace the Cover and Test the Lock
After the new battery is in place and you’ve heard the confirmation beep, snap the cover back on. If you have a deadbolt lock, slide the cover down into place. For lever locks, carefully snap it back into position with the help of your screwdriver.
Once the cover is back on, test the lock by entering your security code. If everything works smoothly, congratulations—you’ve successfully changed the battery! and if the lock is not working after battery change then further investigation needed which we had done already in why schlage lock not working after battery change.
Tips for a Smooth Battery Replacement
- Replace the battery promptly: While the red light warns you in advance, don’t wait too long. If the battery dies completely, you’ll lose the convenience of the electronic functions.
- Use high-quality batteries: Choosing good-quality 9-volt batteries can extend the time between replacements. This can save you the hassle of frequent battery changes.
- Keep a spare: Always have a backup 9-volt battery on hand so that you can make the switch as soon as you notice the red blinking light.
Why Battery Maintenance Matters
Your Schlage lock is designed to protect your home, and keeping it powered is an important part of maintaining that security. A lock without battery power will still allow you to manually open and close it, but you’ll lose access to its advanced features, like keyless entry and remote control via your smartphone. By replacing the battery regularly, you ensure these features continue working and prevent unnecessary frustration.
Aside from battery changes, its good practice to perform basic lock maintenance. Make sure that all moving parts are clean and lubricated to extend the life of your lock. Regularly checking on your lock’s battery and performance will keep everything running smoothly.
Conclusion
Changing the battery in your Schlage lock is a simple task that ensures your home remains secure and your lock functions properly. By following this expert guide, you can confidently tackle this maintenance job in just a few minutes. If you have any questions or run into trouble, don’t hesitate to reach out for further assistance.
Remember, regular maintenance goes a long way in extending the life of your Schlage lock and ensuring that its advanced features continue to work seamlessly
About The Author
Hassan Zaka
I am an expert in accounting and possess diverse experience in technical writing. I have written for various industries on topics such as finance, business, and technology. My writing style is clear and simple, and I utilize infographics and diagrams to make my writing more engaging. I can be a valuable asset to any organization in need of technical writing services.
Follow Us:LinkedinTwitter


