If you own a Roomba robot vacuum, you already know how useful this small device is! It can clean your house without you having to lift a finger, but only if it is working properly. So, if you encounter error 14 on Roomba, you may be wondering what it means and, more importantly, how to solve it.
Error 14 on your Roomba indicates that the dust-collecting bin must be replaced. If the bin was properly inserted, clean the Roomba of dust and dirt, or restart or reset the robot.
What Does Error-14 on a Roomba Mean?
The error-14 or error-1-4 warning signifies the same thing no matter which Roomba vacuum you have, and there are a lot of them: the dust bin has to be installed, cleaned, or replaced.
Roomba recommends removing and cleaning the bin after each usage, especially if you have dogs, since their hair may rapidly block the bin.
If you do not clean your bin on a regular basis, or if you do not reinstall it correctly after service, you will most likely see the error-14 message. Fortunately, there are four simple solutions to the problem.
Why is my Roomba giving me Error 14?
Error 14 appears when the Roomba fails to recognize a correctly installed dust bin, which can occur for a variety of reasons.
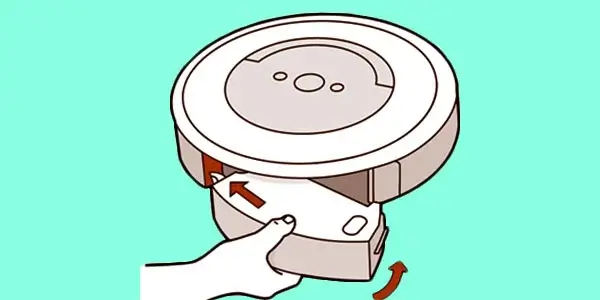
The error may appear if you wrongly put the dust collecting bin on the Roomba.
It may also occur if the Roomba fails to identify the bin, even though it was properly inserted.
If you haven’t cleaned out the Roomba in a long time, dust and filth from the floor might collect on the Roomba and prevent it from sensing if the bin was properly attached.
Here are the solutions for Roomba Error 14
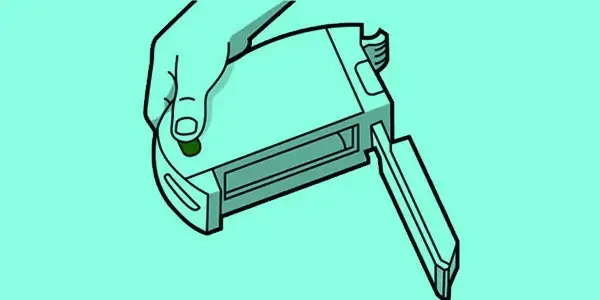
Verify That The Bin Is Properly Installed
One of the most typical issues that Roomba customers have is that the bin was not properly reinstalled after the previous time it was cleaned.
If you see an error-14 message, try removing and reinstalling the bin to check it is properly inserted.
Check if the bin has damage, and replace the bin with a new authentic part, which you can get from store.irobot.com.
That may have been the solution to your dilemma! However, if you continue to see the error notice, don’t despair; there are further alternatives to attempt.
Clean your Roomba
Cleaning the Roomba can assist in finding and resolving Error 14.
Cleaning the Roomba:
- Turn off the Roomba and flip it over.
- Remove the plastic panel from the bottom of the Roomba near the bin unit.
- Using a can of compressed air, clean the Roomba’s internals. Q-tips can also be used to access hard-to-reach regions.
- Reassemble the panel and reinstall the screws.
Allow the Roomba to complete its planned routine and check to see whether Error 14 persists.
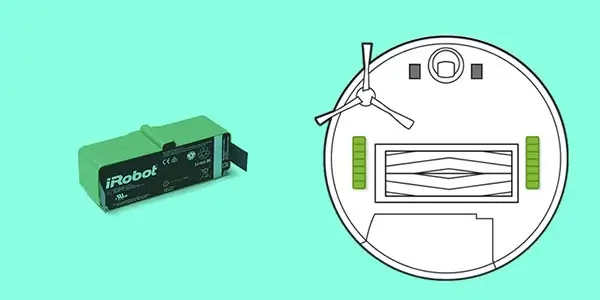
Reinstall the Battery
Reinstalling your Roomba’s battery works as a soft reset and might help resolve temporary troubles with your Roomba.
It’s simple and won’t take you more than five minutes.
Replace your battery as follows:
- Turn the Roomba on its side.
- All screws, including the one at the rotating brush, should be removed.
- Take off the bottom cover.
- To remove the battery, lift the two tabs.
- Wait at least 10-15 seconds before replacing the battery.
- Retrace your steps to reassemble everything.
- After you’ve finished, switch the Roomba over to its proper side and let it go through its cleaning process.
Check to see if it encounters Error 14 again.
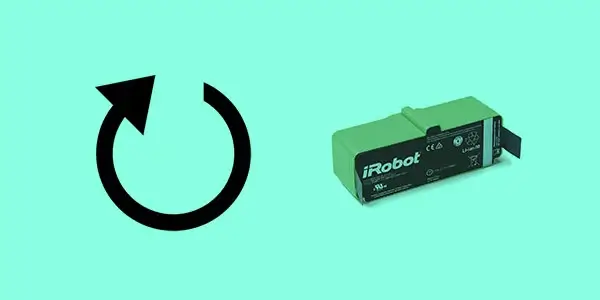
Reset the Battery
Roombas include a handy battery reset option that not only fixes momentary faults but also recovers part of the battery’s lost charge cycles.
To reset the battery on your 500 or 600 series Roombas, follow these steps:
- Select the Clean option.
- Hold down the Spot and Dock buttons for at least 15 seconds before releasing them.
- Allow your Roomba to charge for about 10 hours, or until the Clean button becomes green.
To do this using a Roomba 700 series:
- Connect the charging dock or the charging wire to the Roomba.
- To hear a beep, press and hold the Clean button for at least 10 seconds and then release it when the display shows “r5t.”
- Allow the Roomba to charge for approximately 15 hours.
Allow the Roomba to complete its routine and check for Error 14.
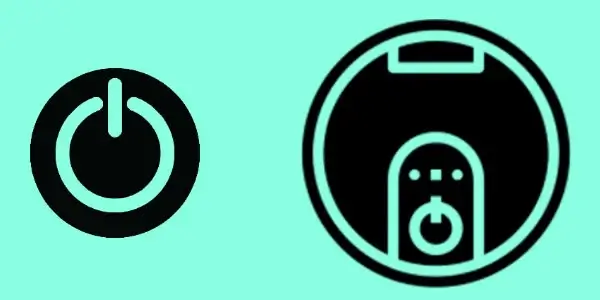
Restart the Roomba
Rebooting can potentially assist with Error 14 if it was caused by a brief software problem.
Different Roomba machines restart in different ways, so be sure you follow the instructions for your model.
To restart an s Series Roomba, follow these steps:
- Hold the Clean button for at least 20 seconds before releasing it until the white LED ring around the bin’s lid begins to rotate clockwise.
- Wait a few minutes for the Roomba to restart.
- When the white light goes off, the restart is complete.
Restarting an I Series Roomba:
- Hold down the Clean button for at least 20 seconds before releasing it when the white light around the button begins to rotate clockwise.
- Wait a few minutes for the Roomba to restart.
- When the white light goes off, the restart is complete.
To restart a Roomba 700, 800, or 900 Series:
- Hold down the Clean button for around 10 seconds before releasing it when you hear a beep.
- The Roomba will then restart itself.
- Allow your Roomba to go through its schedule after rebooting to check if the problem reappears.
Reset the Roomba
If cleaning or restarting your Roomba does not solve the problem, consider doing a factory reset.
First, ensure that the Roomba is linked to the iRobot Home app on your phone.
To hard reset your Roomba, follow these steps:
- In the iRobot Home app, go to Settings > Factory Reset.
- Accept the prompt.
After you accept the prompt, the Roomba will begin its factory reset routine, so let it finish.
When the reset is complete and the Roomba may resume normal operation, conduct a cleaning cycle to determine whether Error 14 remains.
Replace the Dust Bin
If none of these simple solutions work, you may need to replace the dustbin entirely.
Whether you’ve owned the Roomba for a long time or it simply gets a lot of use around the house, the dustbin may have been overworked, and cleaning it won’t suffice.
While you may buy a new one as a replacement component on Amazon, they can be very expensive.
Before you spend money on a new dust bin, contact Roomba to see if they would replace it for you if the vacuum is still covered by the company’s one-year guarantee.
Contact Support
If you are still experiencing Error 14 and none of the troubleshooting methods have helped, please contact iRobot support.
They can provide you with more specialized troubleshooting suggestions for your Roomba.
They can also make a better-educated decision about whether you should return the robot for service.
You might want to see this:
- Roomba Error 15 – Solutions
- Roomba S9+ troubleshooting
- Roomba I7 Troubleshooting
- How to Charge Roomba Without Home Base
- IRobot Alexa Commands
- Roomba Google Home Voice Commands
Frequently Asked Questions
How long should I leave my Roomba to work?
iRobot suggests that you run the Roomba through its whole cleaning cycle according to the schedule you’ve chosen, which might take up to 20-40 minutes depending on the size of your home.
When Roomba flashes clean, what does this mean?
When the Clean button on your Roomba flashes while it is on its home base, it signals that the software is being updated.
Home Automation >> Other >> Smart Vacuum >> Roomba Error 14 – Useful Solutions – Fix within Minutes
